This is the week we will be distributing GARLIC to all shareholders. If will come to you straight from the field, dirt clumps and all! Don't worry if you didn't make it out Saturday to learn the cleaning/drying process, we'll explain curing your own garlic below!
SHARE OFFERINGS:
CILANTRO
SAGE
CELERY
RAINBOW CHARD
GREENS MIX (mizuna & arugula)
BROCCOLI
CHIOGGIA BEETS
GARLIC
DEMYSTIFYING GARLIC: How to clean, hang and store your bulbs to last all year long

CLEANING A DIRTY BULB
Because most of the dirt has dried onto the bulb, the easiest, fastest way is to find the first green layer from the bottom...
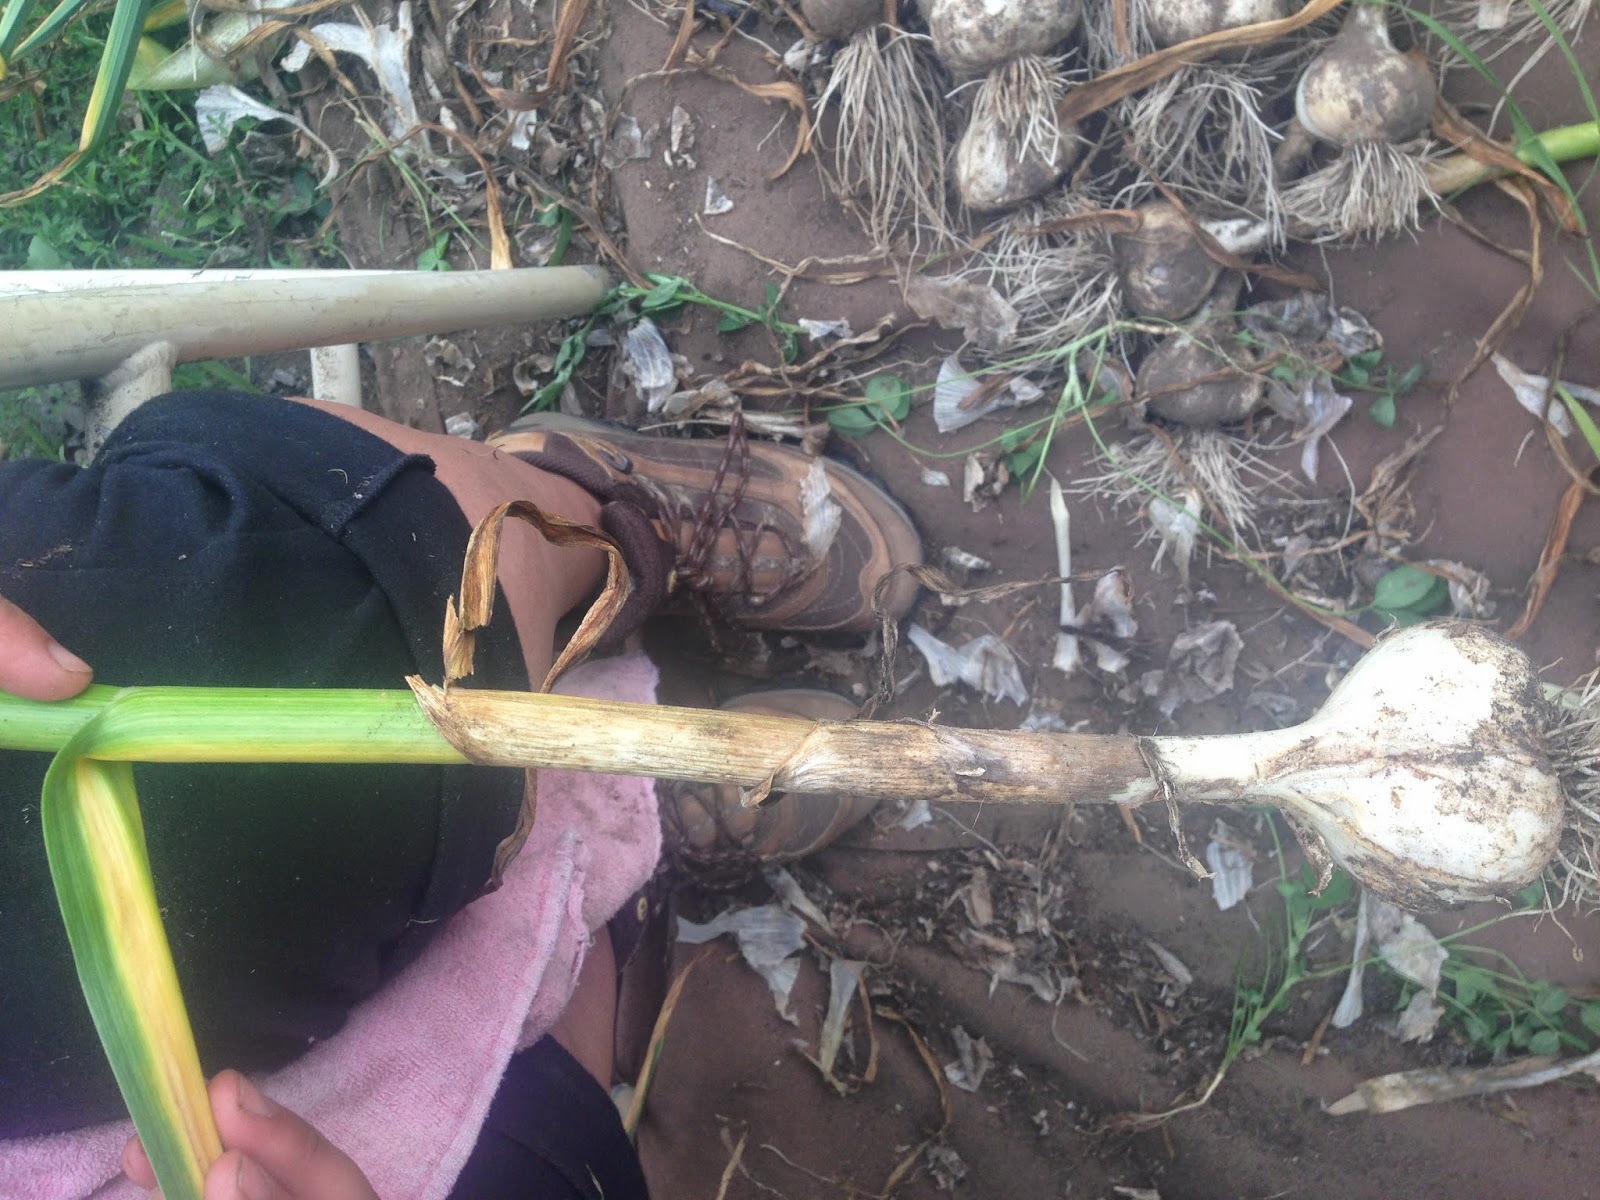
and peel down.

Once your garlic looks like this:

you can continue peeling until it's clean!

HANGING AND STORING YOUR GARLIC
Once you've got all your GARLIC cleaned, you can bunch them in 10's to hang. Then, take a string and use one end to tie one bunch and the other end to tie a second bunch to it (cut string 3-4' long). Make sure you tie tightly, as the garlic tops will loose mass as they dry out! Now they can hang from a nail or peg from the center of the string. An alternative is to spread them out horizontally on a window screen. The best place to store them as the outer layers dry and cure is a place that gets good airflow, isn't damp and receives no direct sunlight (ex. garage, shed, spare room).
After they hang for 2-3 weeks the tops should have dried out and toppled over. This means the outer layers that protect the cloves have adequately cured. Then it is okay to clip the tops off the bulbs. The bulbs can be stored in paper bags, at room temperature. They do not require cold temperatures to store, as root vegetables do. If you have any further questions don't hesitate to ask.
Happy GARLIC curing!
No comments:
Post a Comment